Base University: Learn to Tweak Bases from the Pros
- 03/14/2023
TWEAKING 101
Special Thanks to Wally Jabs and Kit Kinchen for compiling this information.
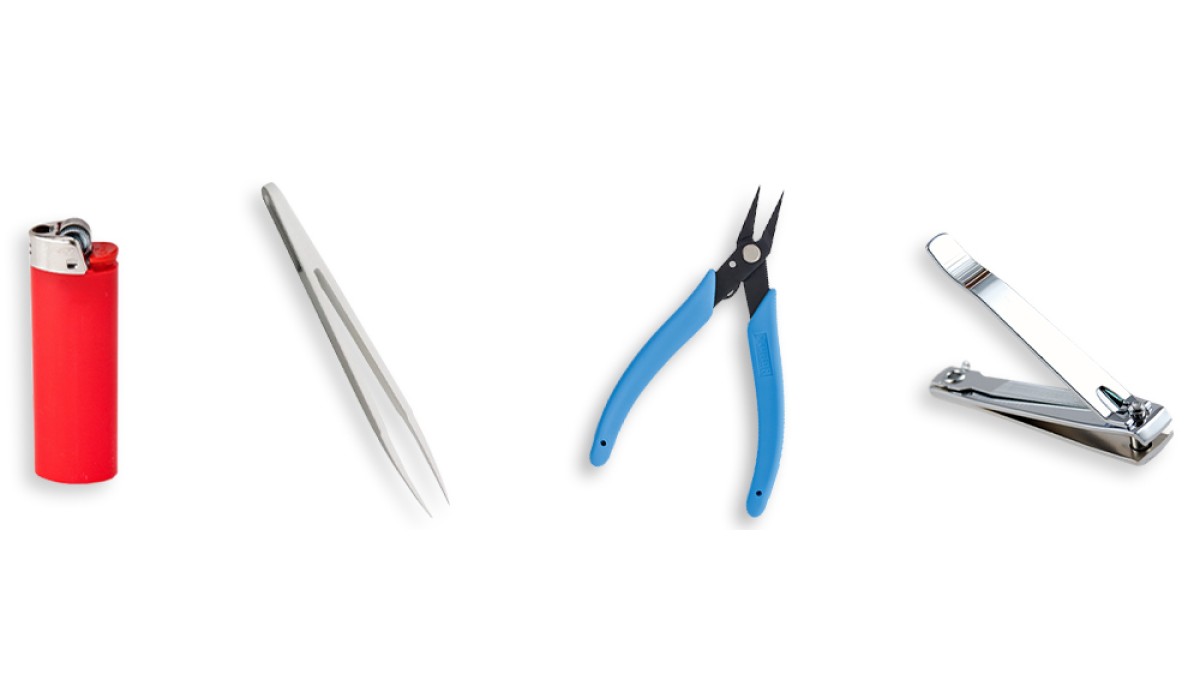
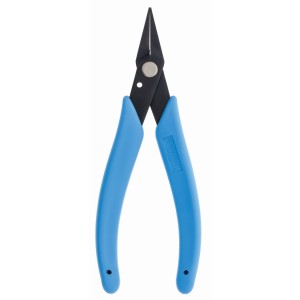
Electric football is a beloved hobby enjoyed by enthusiasts all around the world. One of the most important aspects of the game is the base, which is responsible for moving the miniature players across the field. Unfortunately, many bases don't perform as well as they could due to plastic residue left on the prong during the manufacturing process. This residue, known as "flashing," inhibits the base's ability to move properly. To address this issue and to introduce control and strategy into the game of Electric Football, coaches have developed a complex process called "tweaking" that involves removing the flash and adjusting the length of the prongs for optimal performance. The basic tools you'll need for tweaking a base are a hobby-sized pair of needle-nose smooth jaw pliers, a lighter, a nail clipper (straight, blunt, and not curved), and a fine pair of tweezers.
In plastic molding, flashing refers to the occurrence of excess material that flows out of the mold cavity and creates a thin layer or protrusion of plastic around the edge of the molded part. To remove the flash, you can use two simple methods: with a lighter or with a nail clipper. To remove the flash with a lighter, simply hold the lighter about one inch away from the base and position it under the set of prongs. Flick the lighter on and off until the prong cools and inspect it. If the flash is not removed, repeat the process. If removed, move to the next prong. Once all groups are completed, test the base. To remove the flash with a nail clipper, clip off the very end of the prong/group of prongs horizontally. Try to take off 1/32nd of an inch of the prong to remove the flash. Once removed, move to the next prong. Once all groups are completed, test the base.
TUNING A BASE - MOVEMENT
Now that we've removed the flash from our bases, it's time to make sure they're moving smoothly and straight. To do this, we need to examine the prongs of the base and make sure they're aligned and evenly stretched.
Begin by holding the base horizontally and examining the prongs. Some may be shorter than others. We want to stretch the prongs evenly, so take your pliers and gently pull each prong from top to bottom.
Move slowly and with little pressure, allowing the pliers to slip down slowly as you pull. The goal is to align all of the prongs.
Test the base to see how it moves. If it's still not moving straight, we need to lengthen the prongs on the side where the base is turning. If it's turning left, the prongs on the left side of the base are shorter, and if it's turning right, the prongs on the right side are shorter.
Work on one set of prongs at a time, always working the prong(s) that appear to be shorter. Pull gently and test the base after each pull until you get the desired results. Remember to be patient - this process can take some time, but the end result will be worth it!
TUNING A BASE - STRENGTH
After following all the steps correctly, you should have a good running base. However, some bases may need more strength. To give your base more strength, follow these steps:
Step 1: Pull the back sets of prongs out a little more. When you place the base down on the game board, it should be "jacked up" in the rear. This will give the base more strength.
Step 2: Flatten the bottom quarter of the back set of prongs using pliers. Use warmed pliers for best results.

Step 3: Gently curl the front set of prongs rearward on the very end of the prong, using a fine set of tweezers.
Step 4: Set the back set of prongs so they are angled rearward but straight, using a fine set of tweezers.

Remember to test the base on it's own and pushing against another figure after each adjustment to ensure that you are getting the desired results. With these tweaks, you should have a stronger base that will perform better on the game board.
TUNING A BASE - SPEED
Assuming that you have followed all the steps for movement and direction, you should have a good running base. However, you may want to increase the speed of the base, which can be achieved by following these steps:
Step 1: Pull both the back and front sets of prongs out a little more. When put down on the game board, the base should be jacked up in the rear, but not as high as when tuning for strength. This will give the base more speed.
Step 2: If you want even more speed for a dual prong configuration base, remove the inside prong on each pair of prongs.

Step 3: Set the back set of prongs so they are angled rearward (but more upright than in strength settings) and straight.
Step 4: The final step to get more speed is to hit the base again with a lighter.
Note that tweaking a base for speed requires a delicate balance between lift and speed, so take your time and test the base after each adjustment.
KEYS TO SUCCESS
Take your time: This process requires patience and a steady hand. Dont rush.
Be prepared to ruin some bases: Not every attempt will be successful. Be prepared for some trial and error, and don't get discouraged if you have to start over.
Test after each step: Don't assume that you've fixed the problem without testing it first. Take your time and test after each step to ensure you're on the right track.
Be precise: Use the appropriate tools and techniques to make precise adjustments to your base. Even the slightest difference in length or angle can affect the performance.
Experiment: There's no one-size-fits-all solution to tweaking electric football bases. Experiment with different adjustments to find what works best for your particular base.
Don't get frustrated: Tweaking bases can be a lengthy process, but don't let that discourage you. Remember to have fun and enjoy the process of improving your team.
Related Products
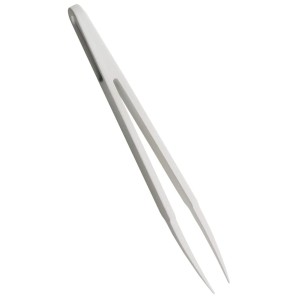
Uni-Forms Precision Slant Point ESD Plastic Tweezers
Interested to see "Who Wore What When"? The folks at The Gridiron Uniform Database publish a graphic..
$19.99
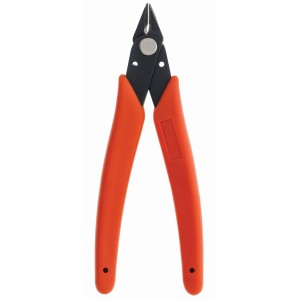
Xuron Micro-Shear Flush Cutter
Xuron cutters are precise and durable, comfortable to use and deliver excellent results. A unique, ..
$24.95
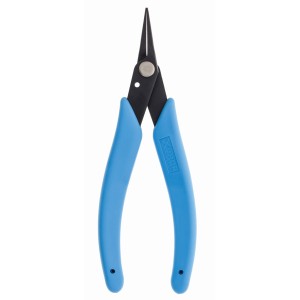
Xuron Tweezer Nose Smooth Face Plier
We call this a'tweezer nose' pliers because the blades are fine, precise, and match perfectly and s..
$26.95
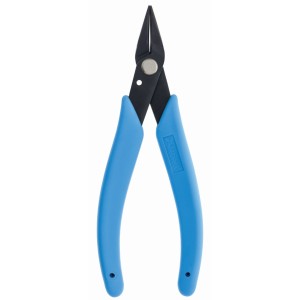
Xuron Duck Bill Long Flat Nose Smooth Face Plier
This is the flat nose (duck bill) plier. Its flat, square, smooth blades are perfect for tweaking ba..
$24.95
Xuron Round Nose Smooth Face Plier
Pliers are used as an extension of the hand, especially for fine detail work. They need to be preci..
$26.95
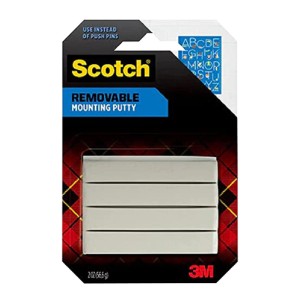
Removable Adhesive Putty for Weighting Bases
This reusable adhesive is great for weighting your player and base combinations. With this materia..
$4.95
